
How to Share a Printer in Windows 10
Sharing Printers over the Network in Windows 10
Before you can share a printer, it must first be set up, connected and powered on. Click Start > Settings > Devices, then open the Devices and Printers link. Right-click your printer, then click Printer properties.
Click Start > Settings > Devices, then open the Devices and Printers link. Right-click your printer, then click Printer properties.

Select the Sharing tab then check the box to share your printer.
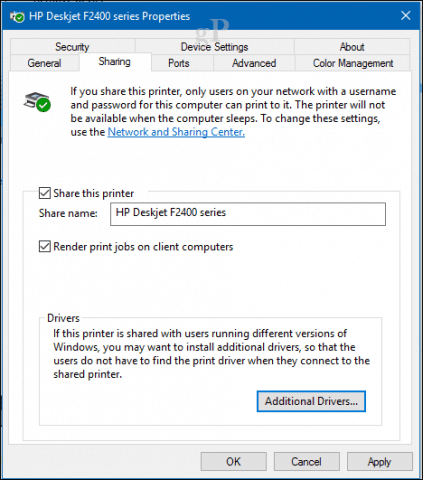
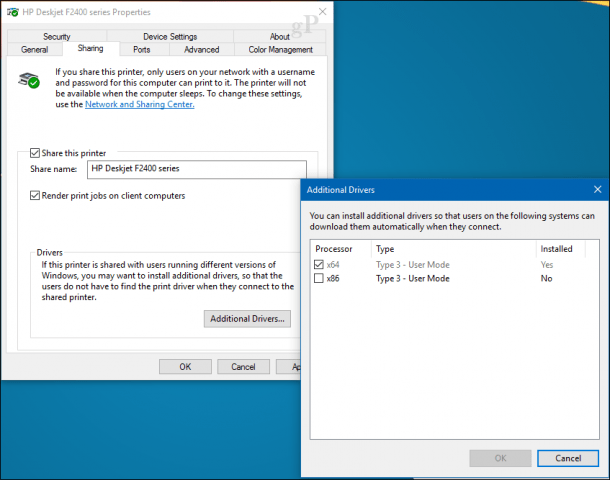
Users should take into account, if you are sharing a printer with multiple devices running a mixture of Windows client architectures – 32 or 64 bit -, you should enable the “Render print jobs on client computers” option. This will ensure other users can easily install the printer when connecting over the network.
Connect to a Windows 10 Shared Printer
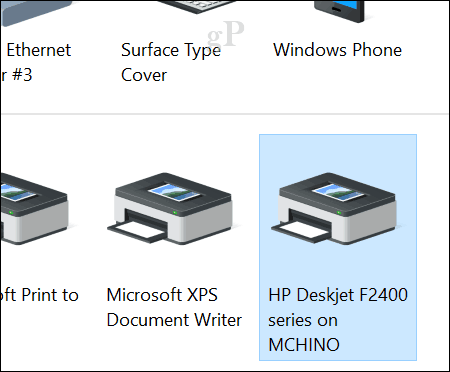
After setting up your shared printer, you can connect to it multiple ways. The first method is from within Devices and Printer. Click the Add Printer button, then click the link, The printer that I want isn’t listed. Choose the Select a shared printer by name radio box then browse to the printer on your network then click open.

You will be prompted to install the driver. Click Next to complete the installation of the printer.

That’s it! The printer will now show up in Devices and printers as a local device.
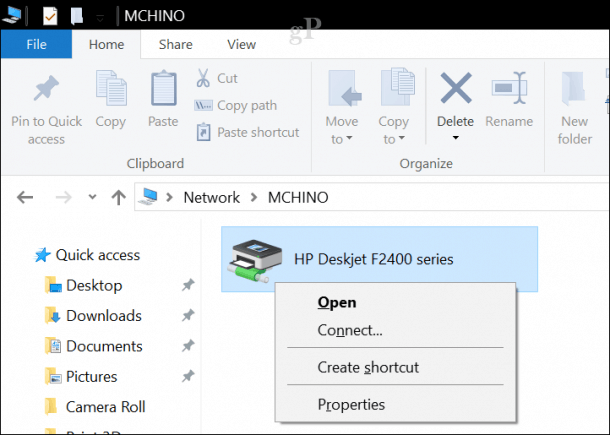
Another way you can connect to a shared network printer is from within File Explorer. Open the Network folder, browse the computer containing the shared printer, right-click it then click Connect.
Conclusion
And there you have it. Sharing printers over a Windows 10 network is a great way to hook up multiple devices to the same printer. This lets you print files and documents without emailing them between devices. This is just one of the ways you can easily share files, storage, and printers in Windows 10.
Article Creator : Sudip Batabyal
Email ID: [email protected]
Soni Group Of Hospitals
